| Author |
 Topic Topic  |
|
Jon
United Kingdom
221 Posts |
 Posted - 09 Jul 2011 : 00:41:38 Posted - 09 Jul 2011 : 00:41:38


|
Use 2 pack high build primer you can leave it for few days to set, flat it all with 1200grade wet and dry. Then use 2pack clear over base will shine like the sun on a red hot day.
Hillman Avenger MK1 GT,
Commer PB Pick-Up x2,
Commer PB Panel Van,
Dodge spaceavan Auto sleeper,
Triumph Stag MK1,
Chevette HS x2,
Lancia Delta Integrale,
Fiat Mk1 Uno Turbo, |
 |
|
|
1922
United Kingdom
551 Posts |
Posted - 11 Jul 2011 : 13:51:52

|
Primer is porous. If you leave it in primer the moisture from the air will get into it then when you colour coat over the top you will get micro blistering.
 |
|
|
|
bigt80
United Kingdom
1053 Posts |
Posted - 12 Jul 2011 : 17:07:11
|
| Just on the pic of dash minus wheel and column: nice and easy on the wires: compared to my mid 80's Audi I'm trying to do it a piece of.....oh yes, cake. On a serious note I have found that with things so brittle after 40 years you can get problems when it all goes back, because the old copper wires can break inside the sheathing. Best do some end to end testing if you can before it's allback and then you have to take bits out to trace a fault. You may be OK, but just a thought. Great work on the re-build and enjoying the thread. G. |
|
|
|
JPSH120
France
1198 Posts |
Posted - 12 Aug 2011 : 20:09:26
|
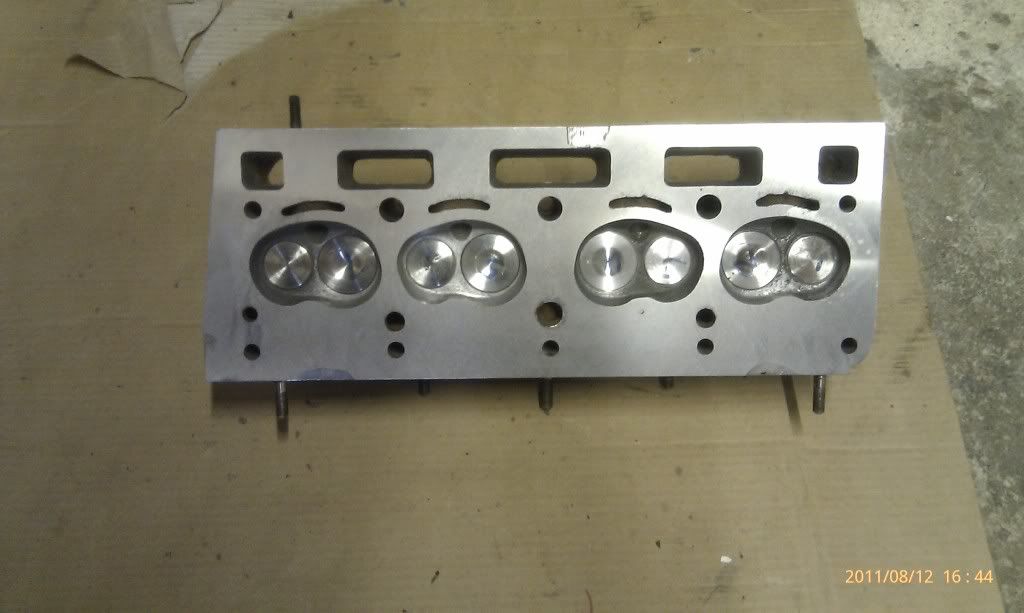
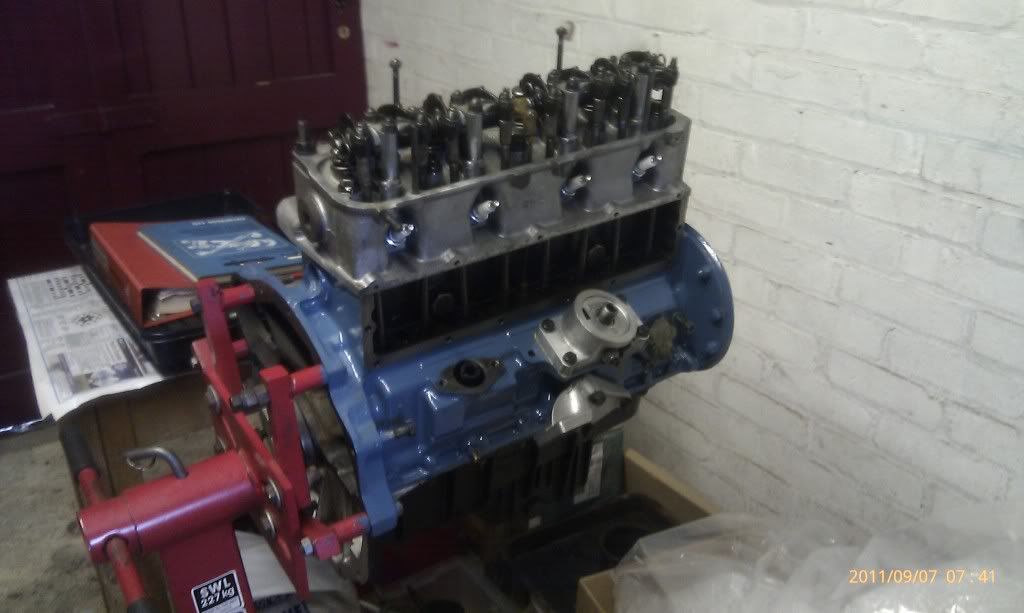
Cylinder head collected today skimmed and ready to go, also had new valve guides;
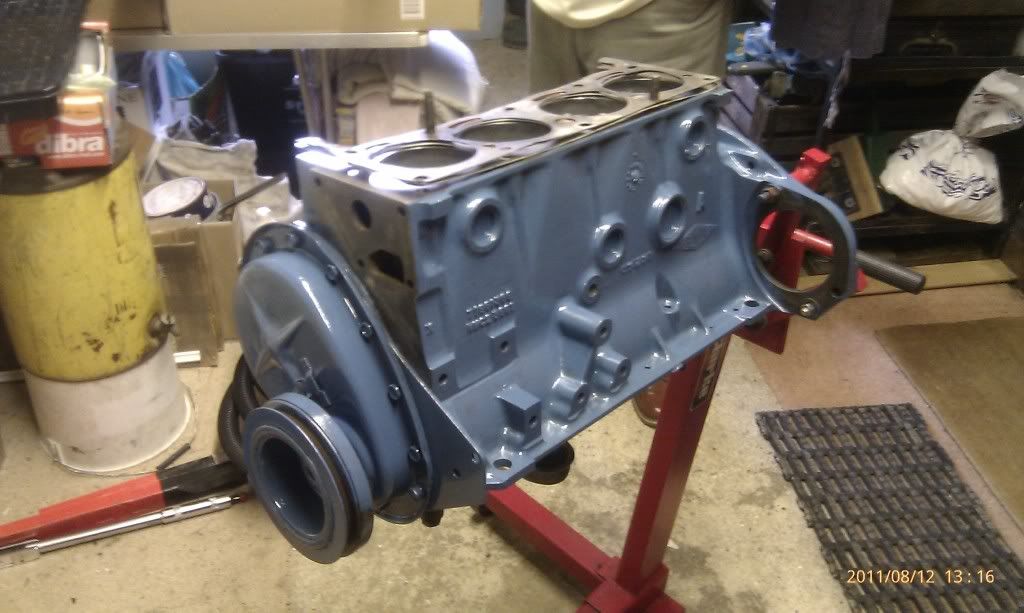
And the block has had a coat of paint, looking good;
___________________________________________________________________________
 |
|
|
|
janmarine3
South Africa
286 Posts |
Posted - 13 Aug 2011 : 07:01:55
|
As we say here in afrikaans ...'lekker' ..it looks nice enough to eat..like chocolate...Good job. |
|
|
|
JPSH120
France
1198 Posts |
Posted - 26 Aug 2011 : 19:05:59
|
Block has now had a second coat of paint which looks good;
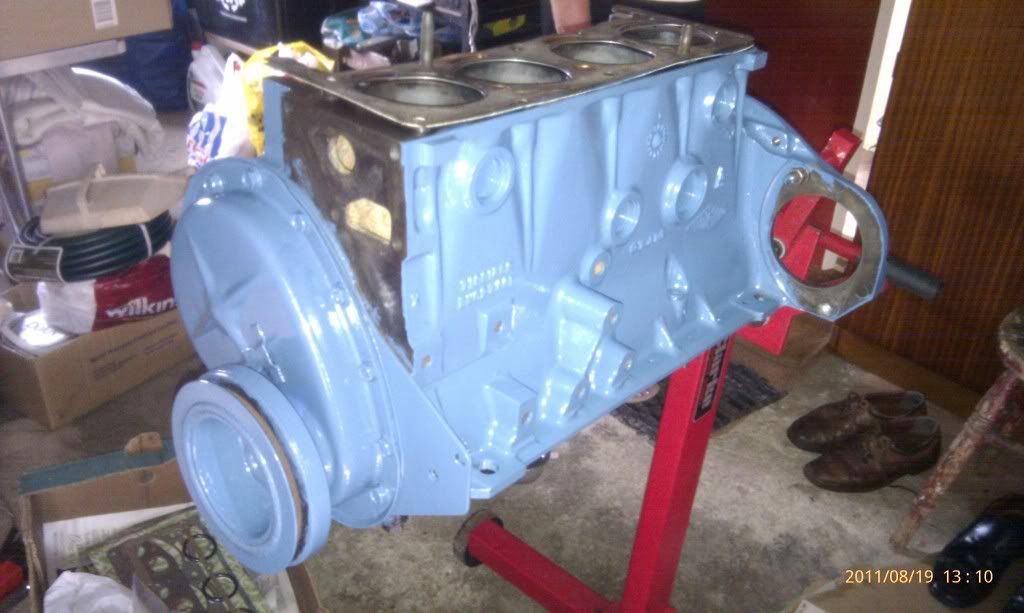
And 20+ years of grime has been removed from the gearbox;
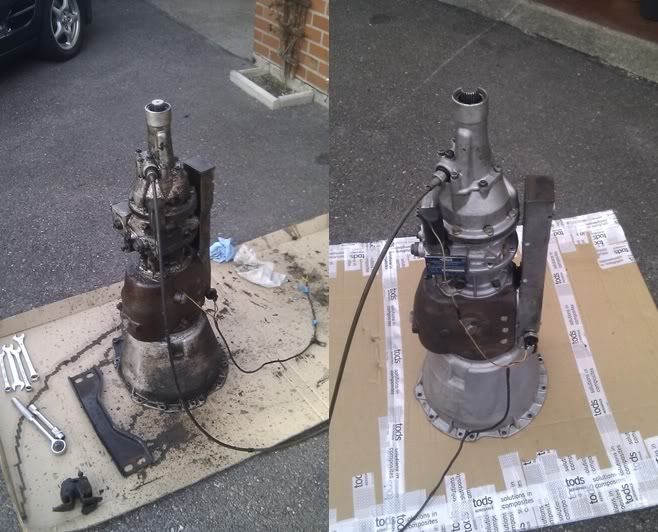
Engine re-assembly begins tomorrow, as in head & sump back on etc.
___________________________________________________________________________
|
|
|
|
janmarine3
South Africa
286 Posts |
Posted - 27 Aug 2011 : 06:31:48
|
Hi Jason, it looks so good 
Did you modify the timing cover to take a seal around the crank or is it still standard ?
Jan. |
|
|
|
JPSH120
France
1198 Posts |
Posted - 29 Aug 2011 : 21:00:31
|
quote:
Originally posted by janmarine3
Hi Jason, it looks so good
Did you modify the timing cover to take a seal around the crank or is it still standard ?
Jan.
It is standard. Didn't have any problems before the car came off the road so fingers crossed it will still be OK!
___________________________________________________________________________
|
|
|
|
Hanley
United Kingdom
126 Posts |
Posted - 03 Sep 2011 : 10:14:03
|
Stunning work Jason, love the engine
XJ8, Beach Buggy, ZX9r, ZX6r, BSA Bantam D7 x2 , Gorilla Monkey Bike, Skyteam Monkey Bike , Honda 400/4.....and now I want a H120! |
|
|
|
JPSH120
France
1198 Posts |
Posted - 14 Sep 2011 : 21:39:54
|
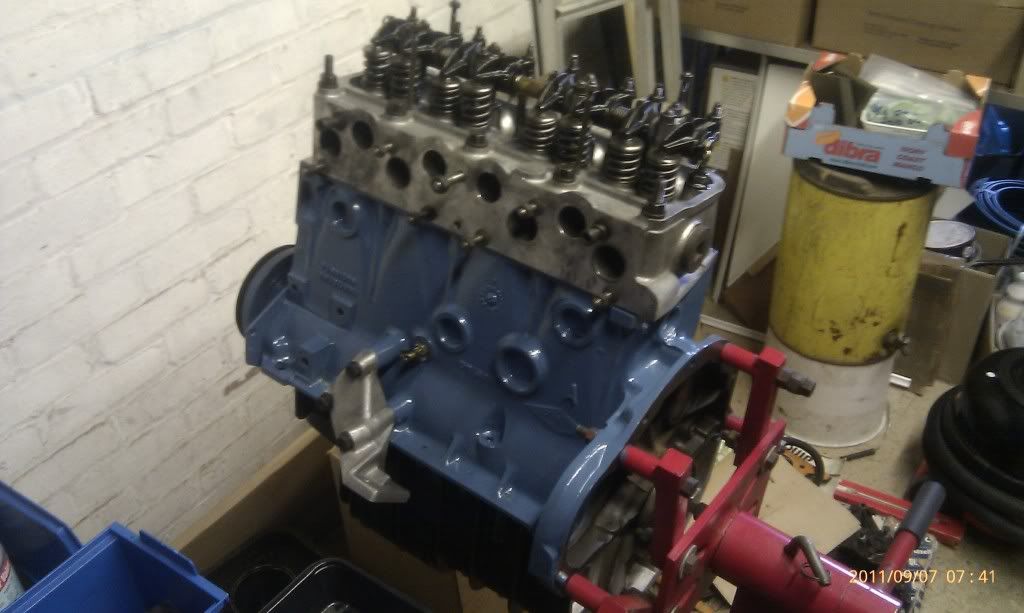
A mini update. Head is back on plus a few other bits. Tappet chest cover is ready and waiting but I am going to buy some stainless bolts. Had to stop temporarliy whilst my eyes heal, can't risk getting anything mucky in them! Apologies for the blurry pics;
___________________________________________________________________________
|
Edited by - JPSH120 on 15 Sep 2011 09:00:56 |
|
|
|
1922
United Kingdom
551 Posts |
Posted - 14 Sep 2011 : 23:05:00
|
Looks good. Make sure you get that timing cover on perfectly central around the crank - it's not as easy as it sounds because the cam chain tensioner pushes it off centre.
If it is not centralised it will leak around the back of the pully and spray oil all over your nice shiny engine.
In the Chrysler workshop manual they show a special tool to keep the cover central whilst you tighten the bolts.
Ahh - just spotted the workshop manual in the photo so I guess you already know all this 
|
Edited by - 1922 on 14 Sep 2011 23:06:58 |
|
|
|
JPSH120
France
1198 Posts |
Posted - 15 Sep 2011 : 09:05:03
|
We didn't remove the cover so hopefully it will still have a good seal. There were no issues with it before so fingers crossed!
___________________________________________________________________________
|
|
|
|
johnc
United Kingdom
212 Posts |
Posted - 15 Sep 2011 : 14:59:47
|
Block looks brilliant.
What paint did you use?I painted mine with 'proper' engine enamel paint I got from Frost,real disaster,pigment separated from enamel gloss and I ended up with a very shiny engine with patchy colour
John |
|
|
|
JPSH120
France
1198 Posts |
Posted - 15 Sep 2011 : 21:09:15
|
quote:
Originally posted by johnc
Block looks brilliant.
What paint did you use?I painted mine with 'proper' engine enamel paint I got from Frost,real disaster,pigment separated from enamel gloss and I ended up with a very shiny engine with patchy colour
John
We used Frost enamel too but did have to ring them for advice after a first trial ended in similar results to those you describe.
It needed to be stirred for a long time to ensure the pigment is properly mixed and then we got the results you see here, worth it in the end!
___________________________________________________________________________
|
|
|
|
Rapierdave
United Kingdom
161 Posts |
Posted - 16 Sep 2011 : 15:05:04
|
Looks good Jason.
Looking forward to seeing the car.

Coupes are cool |
|
|
|
Topic |
|