| Author |
 Topic Topic  |
|
JPSH120
United Kingdom
1197 Posts |
 Posted - 23 Jun 2010 : 22:13:52 Posted - 23 Jun 2010 : 22:13:52


|
This story actually starts on another post : http://www.sunbeamrapier.co.uk/forum/topic.asp?TOPIC_ID=166
but i'll continue it here!
A man with an angle grinder, time to look away!
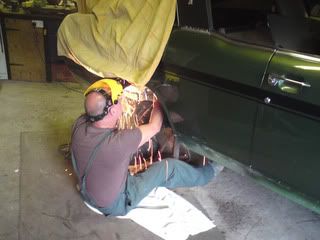
No question that the old strut tops needed replacing;

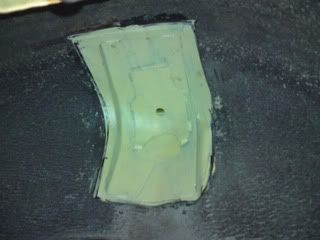
New panel clipped in place, from inside....

and outside....
So far, so good and progressing well. Will keep posting updates as and when more gets done 
 |
Edited by - JPSH120 on 15 Jun 2015 09:50:35 |
|
|
JPSH120
United Kingdom
1197 Posts |
Posted - 27 Jun 2010 : 16:57:54
|
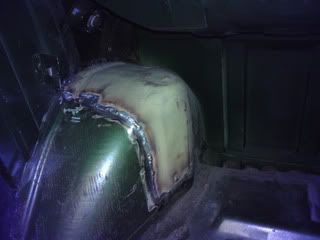
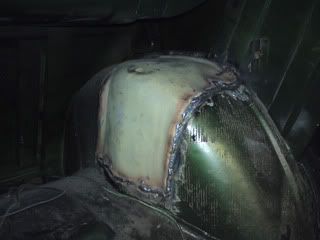
New panels are now welded in place, welds need cleaning up and there's a couple more rot holes in the rear sills to sort out and then we can move on to the next phase.
|
 |
|
|
JPSH120
United Kingdom
1197 Posts |
Posted - 30 Jun 2010 : 22:38:45
|
All welding is now finished, picking car up tomorrow & I'll post up some more pics ASAP.
Onto to under the bonnet now where an engine bay re-spray plus an engine re-fit with lots of shiny new bits should make everything look good 
|
|
|
|
JPSH120
United Kingdom
1197 Posts |
Posted - 03 Jul 2010 : 20:53:01
|
All finished, taken from under the arch...
|
Edited by - JPSH120 on 21 Feb 2013 20:26:40 |
|
|
|
Holbay120
United Kingdom
177 Posts |
Posted - 13 Aug 2010 : 21:01:12
|
Hi Jason, Anymore news on BJU? I was hoping to hear you'd been whizzing round Somerset by now! Regards
David McKenna |
|
|
|
JPSH120
United Kingdom
1197 Posts |
Posted - 07 Sep 2010 : 19:54:27
|
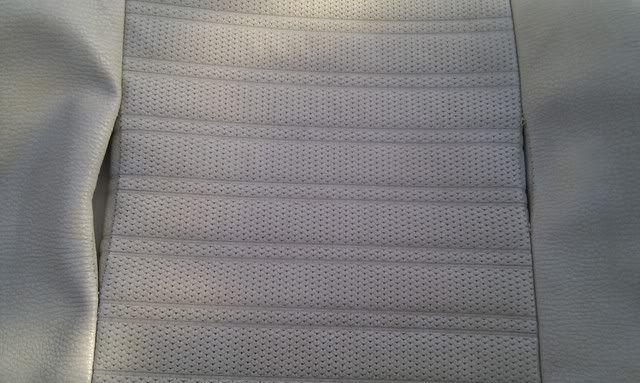
A little more progress to report. I've repaired all the broken seams on the seats, very pleased with the results 
Before and after;

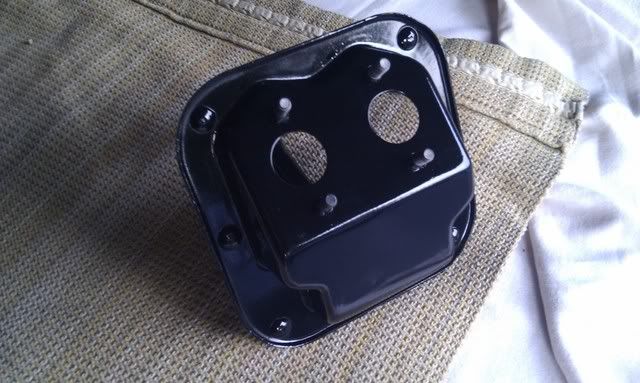
Also been having parts shot blasted and painted at work ( ), heres the pedal box as an example; ), heres the pedal box as an example;
|
|
|
|
steve wilkinson
United Kingdom
63 Posts |
Posted - 07 Sep 2010 : 21:24:56
|
| nice work Jason |
|
|
|
Holbay120
United Kingdom
177 Posts |
Posted - 19 Sep 2010 : 10:08:47
|
Wow! that looks like a real profesional job Jason, the seat is a great job, sometimes I wish I lived a bit nearer you guys might get a bit of help then - feel a bit isolated up here,
Best Regards
David McKenna |
|
|
|
JPSH120
United Kingdom
1197 Posts |
Posted - 19 Sep 2010 : 20:03:17
|
Perhaps you need to move down south Dave and join the fastback revolution!!

|
|
|
|
JPSH120
United Kingdom
1197 Posts |
Posted - 15 Oct 2010 : 18:53:24
|
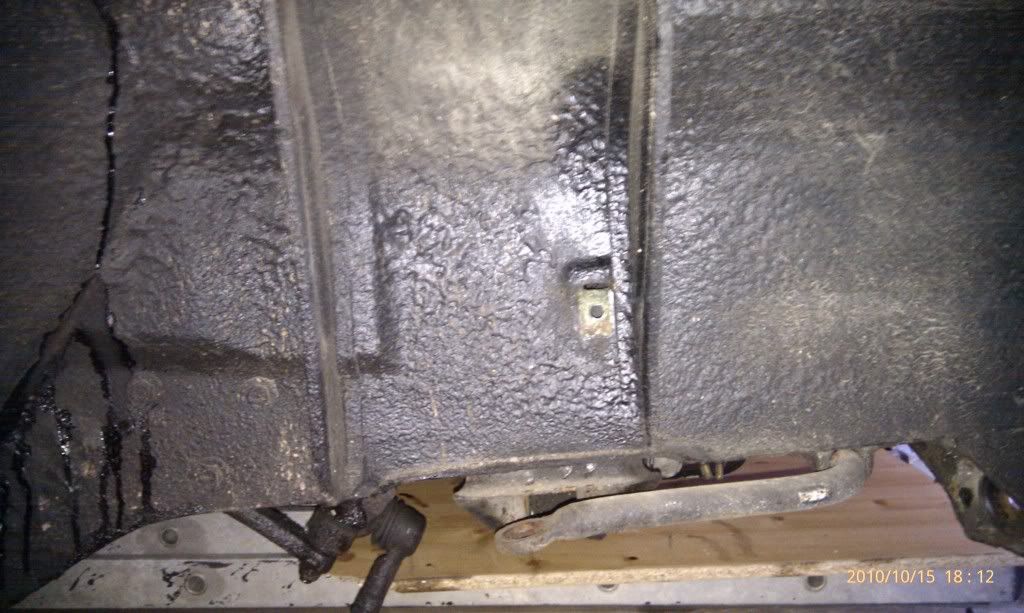
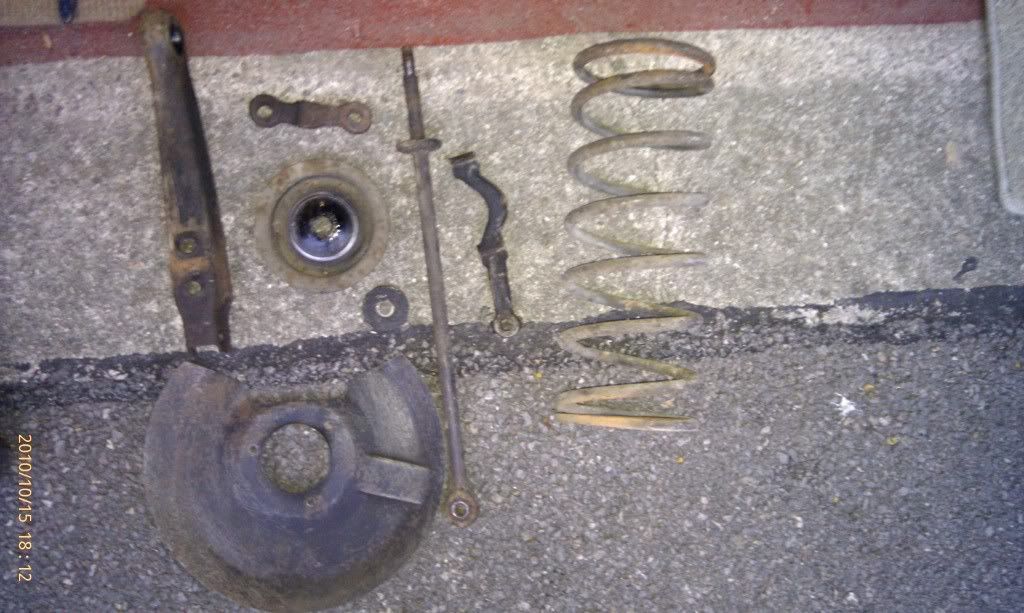
Bit more progress to report, getting there slowly!
O/S/F suspension all dismantled ready to take to work, I mean the blasters before it all gets a nice coat of hammerite.
|
Edited by - JPSH120 on 15 Oct 2010 20:12:17 |
|
|
|
UMU
United Kingdom
343 Posts |
Posted - 16 Oct 2010 : 00:16:30
|
Hi Jason
Wicked to see what your managing to achieve here.
Cant wait to meet you and your fastback, during the revolution!!#
ps i really need someone to fix my seat as the edge had perrished.
Saw Mike yesterday, was bril to catch up with him again too
|
|
|
|
JPSH120
United Kingdom
1197 Posts |
Posted - 16 Oct 2010 : 08:11:14
|
Yes its very satisfying getting all this done and apart from 1 stubborn bolt it all came apart fairly easily.
Put a picture up of your seat so I can see what you mean, or is it the foam bolster that has crumbled??
|
|
|
|
UMU
United Kingdom
343 Posts |
|
|
UMU
United Kingdom
343 Posts |
Posted - 16 Oct 2010 : 11:54:05
|
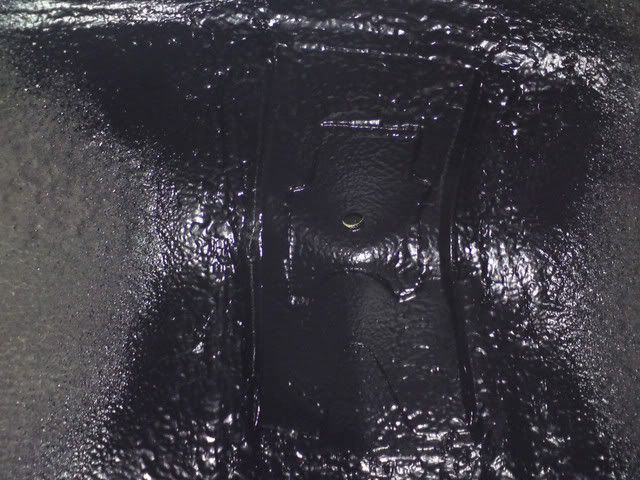
ps the black stuff init is just an attemp to stick the piping back to itself - dont think it worked really, ha
also ive forgotten how to put photos straight on here and how do u attach a photo to your user
cheers |
|
|
|
JPSH120
United Kingdom
1197 Posts |
Posted - 16 Oct 2010 : 14:02:25
|
I see what you mean, should be an easy job for a trimmer, i'd be tempted to have a go myself, getting new beading may be tricky though?
There are instructions in the forum help section about putting pictures in posts. Similarly if you want a picture in your signature just copy the IMG code into it and hey presto!
|
Edited by - JPSH120 on 16 Oct 2010 17:18:29 |
|
|
|
Jon
United Kingdom
221 Posts |
Posted - 16 Oct 2010 : 15:35:22
|
quote:
Originally posted by UMU
Hey hope this photos loaded ok.
It shows that the piping around the top arch of the seat has perrished and im hoping to get a replacement section sown in.
will be great to see your when its done

Hillman Avenger MK1 GT,
Commer PB Pick-Up x2,
Commer PB Panel Van,
Dodge spaceavan Auto sleeper,
Triumph Stag MK1,
Chevette HS x2,
Lancia Delta Integrale,
Fiat Mk1 Uno Turbo, |
|
|
|
Topic |
|