| Author |
 Topic Topic  |
|
arrocuda
United Kingdom
501 Posts |
 Posted - 29 Oct 2015 : 11:27:28 Posted - 29 Oct 2015 : 11:27:28


|
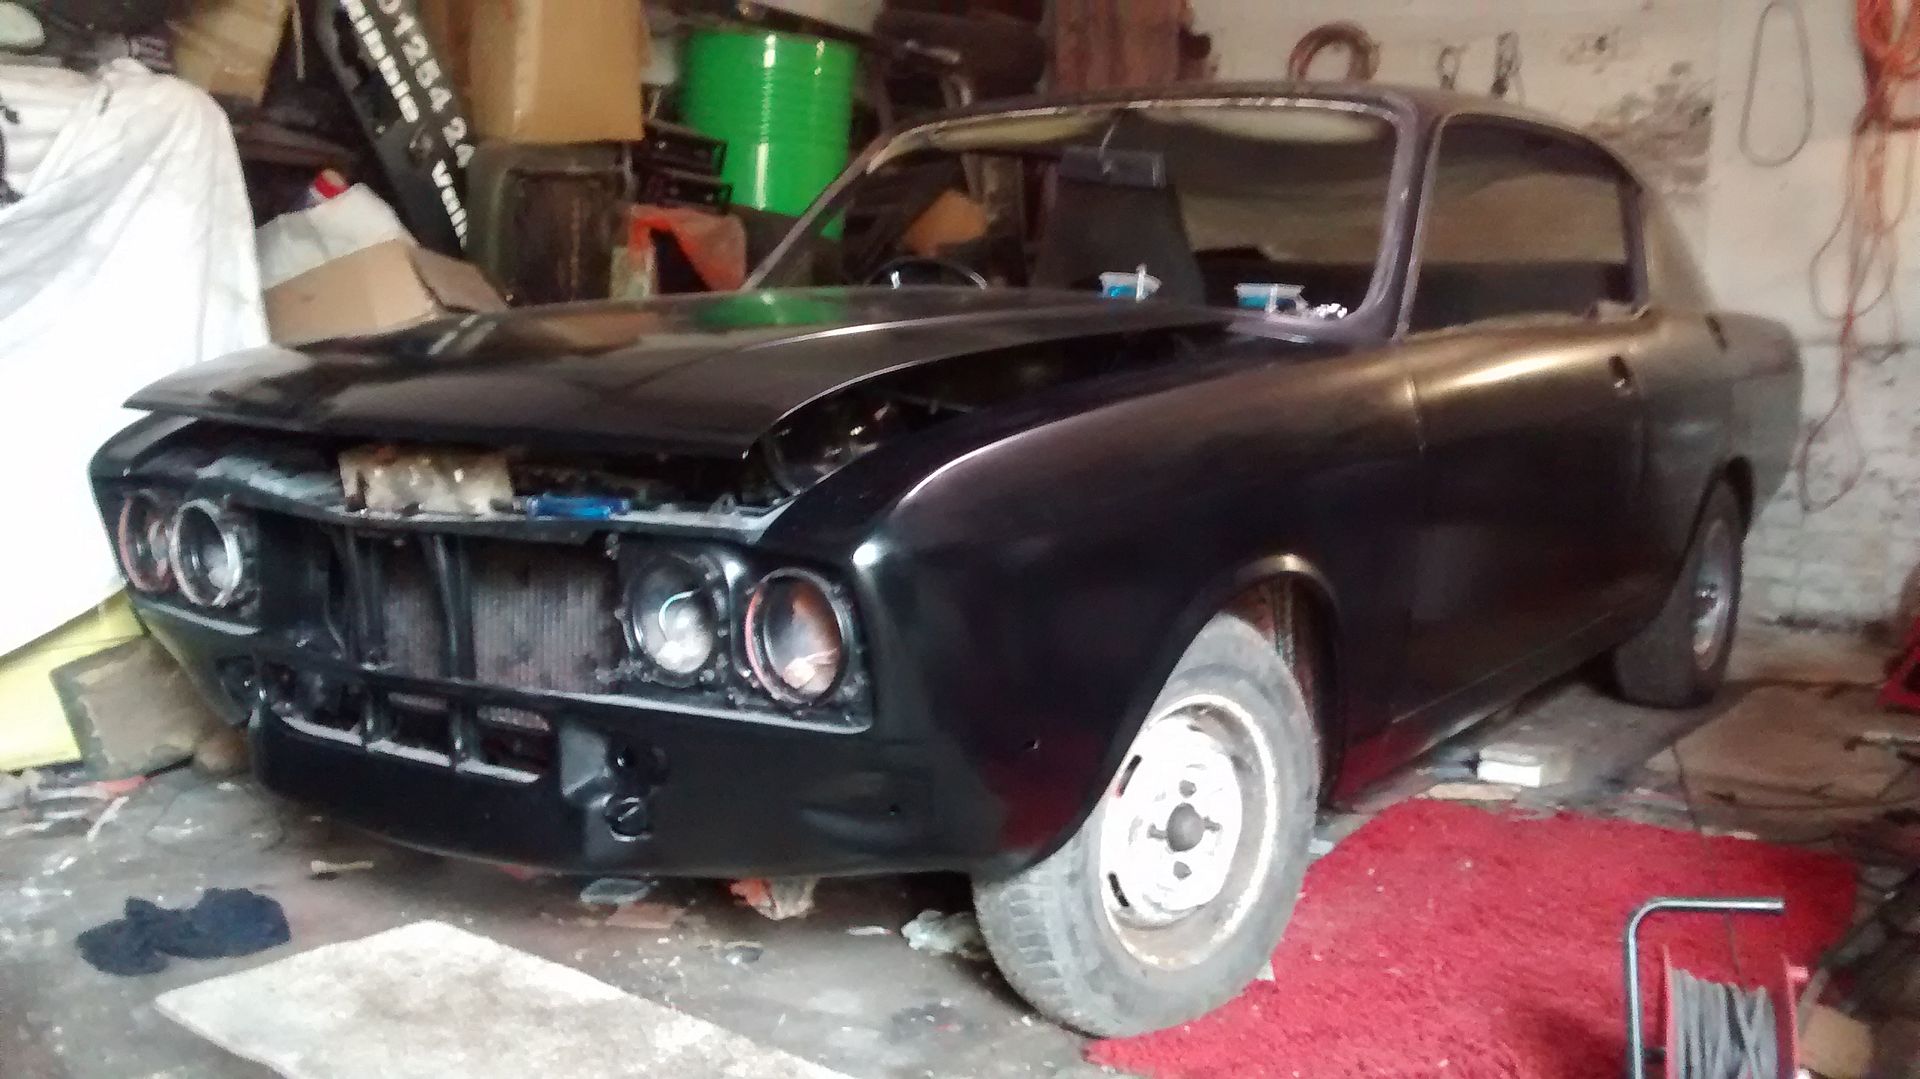
Not been on here much of late cos I've been spending more time on the project car and I'm happy to report that progress, albeit slow, has resumed.
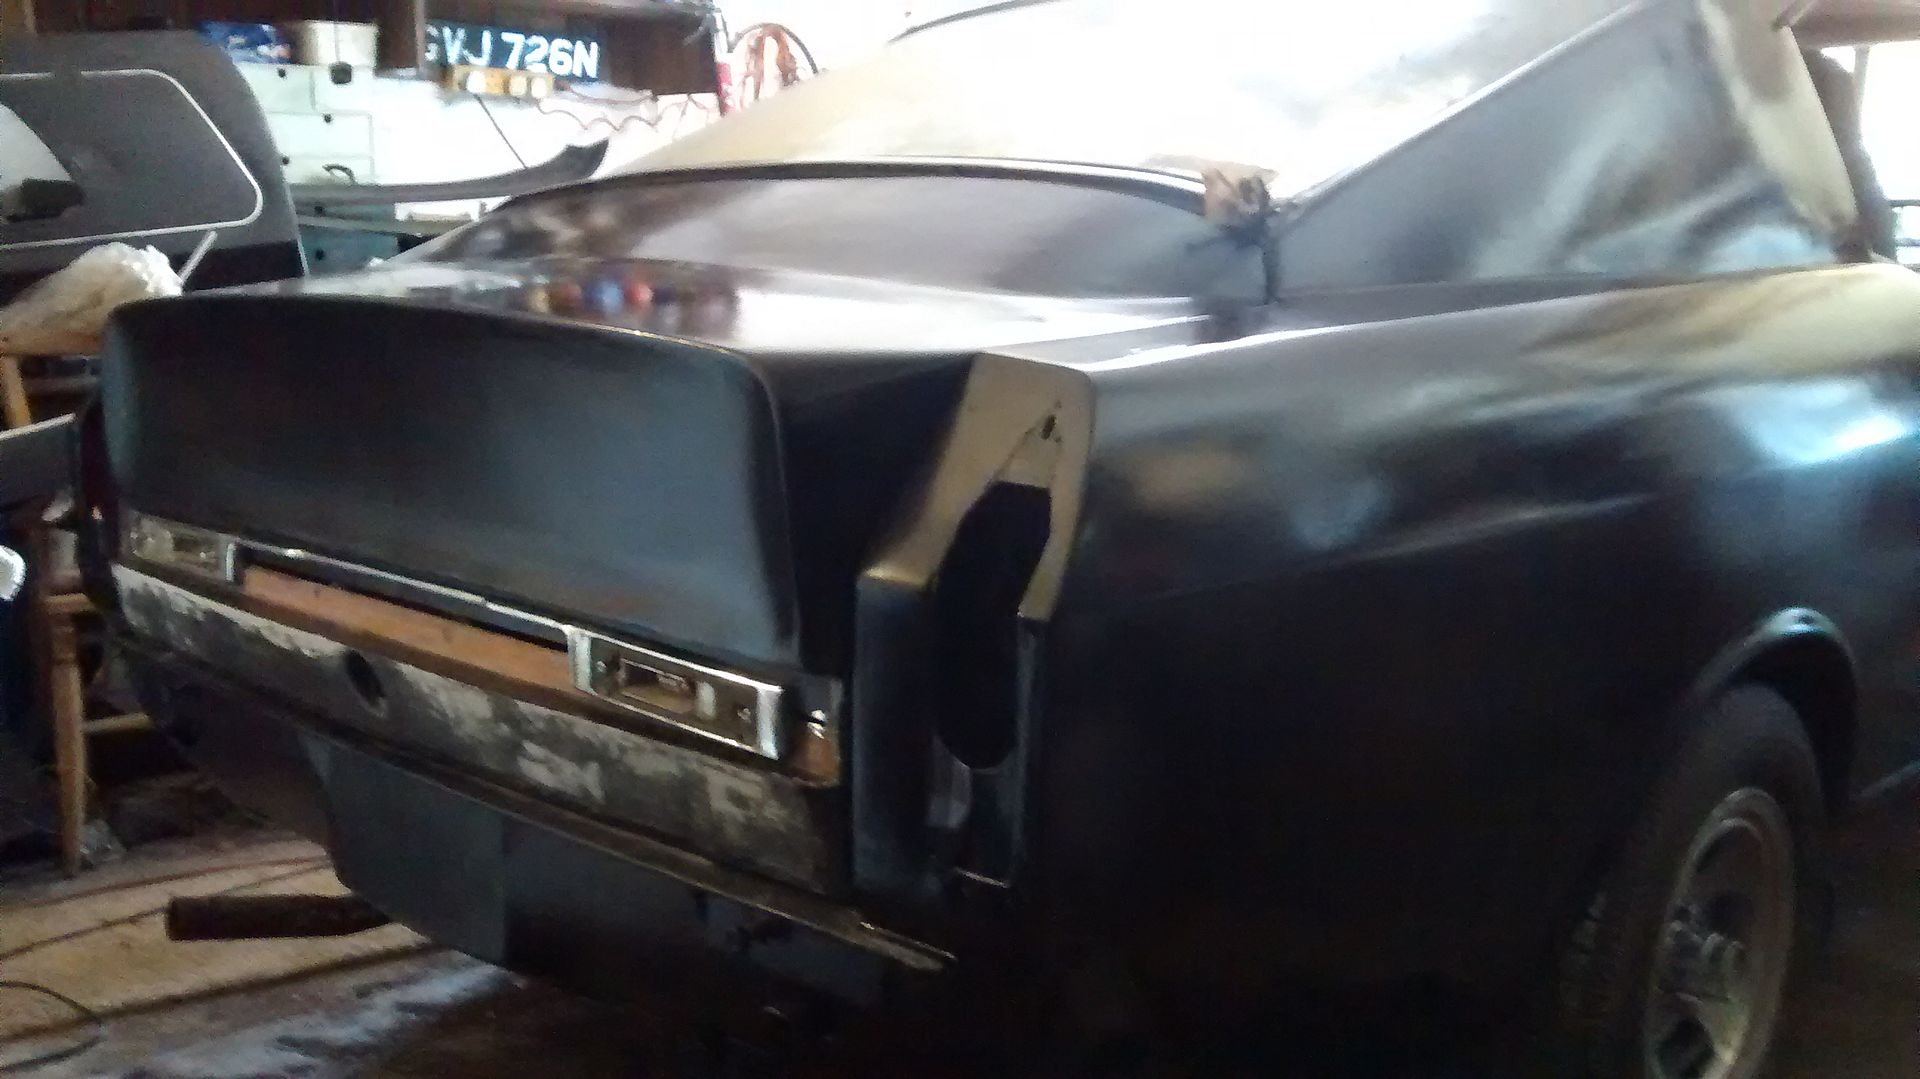
Boot lid as it is at the moment..... (tail light stuck in the hole for effect purposes only) 


I'm planning to bring it back to the house for finishing. Needs a lot of sanding and filler primer before painting.
Front end with some quarter bumpers I cut down from a bent one I had in the back. Need a little more trimming off of them I think, but it gives the general idea of where I'm heading.

Was planning to remove the nudge bars as I've never seen quarter bumpers with them on, but TBH I'm beginning to think they look better left on.
Managed to find some box section steel down at the local stockholders that is just the perfect size for fabricating the gutters from, so hopefully more pics soon.
Tim
Building the 'Mark II' fastback Rapier ('Arrocuda'). |
Edited by - arrocuda on 29 Oct 2015 12:07:15 |
 |
|
|
arrocuda
United Kingdom
501 Posts |
Posted - 31 Aug 2016 : 14:34:38
|
Been burning the midnight oil this past few months and starting to reap the rewards.....
 [/URL] [/URL]
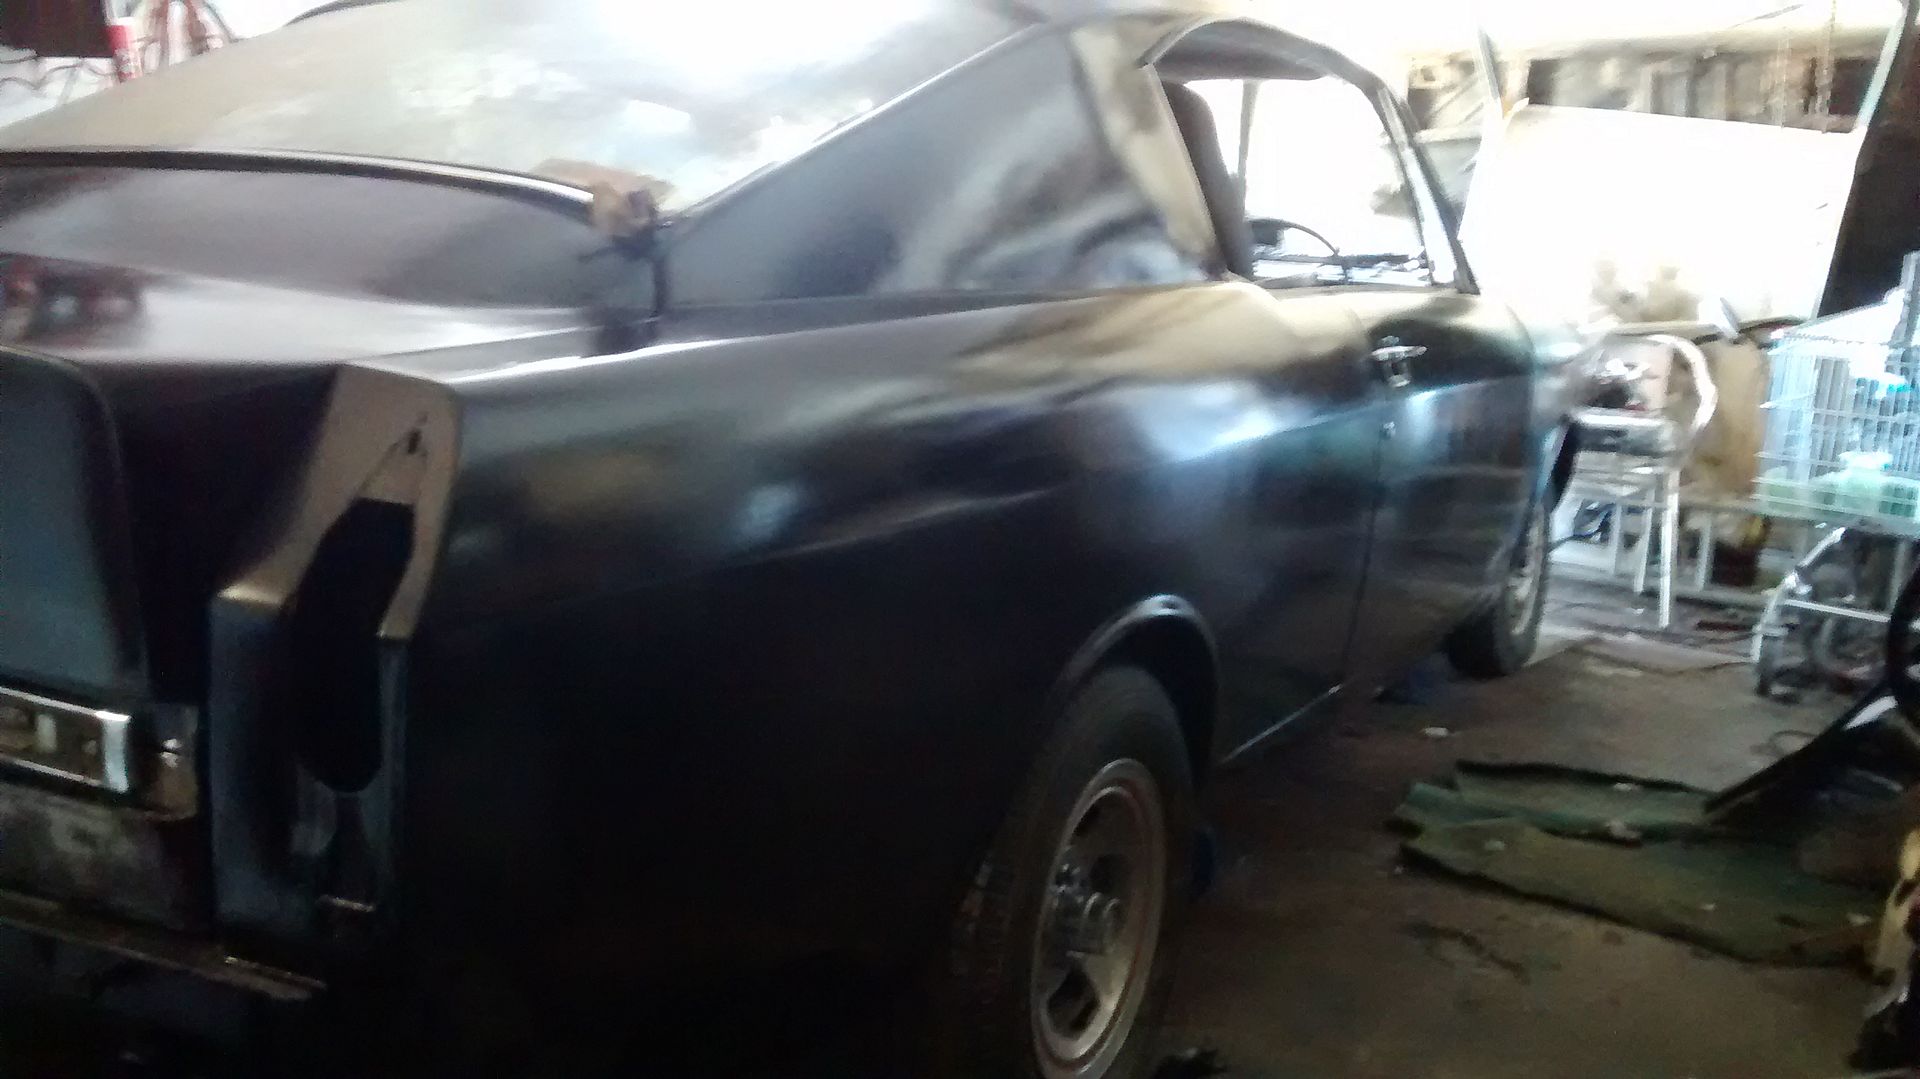
Half way thru' the painting. Roller job to get some depth on for now, but will have it sprayed when I've completed phase 2.
 [/URL] [/URL]
Looks cool in black though.
 [/URL] [/URL]
Boot lid almost complete. The job had stopped at this point as I couldn't make my mind as to whether to weld steel in and go all black or have a piece of aluminium sheet cut to size and mounted in the recess behind the reversing lights. Decided to go for the ally strip and if I don't like it I'll paint it black. Arrived this morning so will be getting back to it at the weekend.
 [/URL] [/URL]
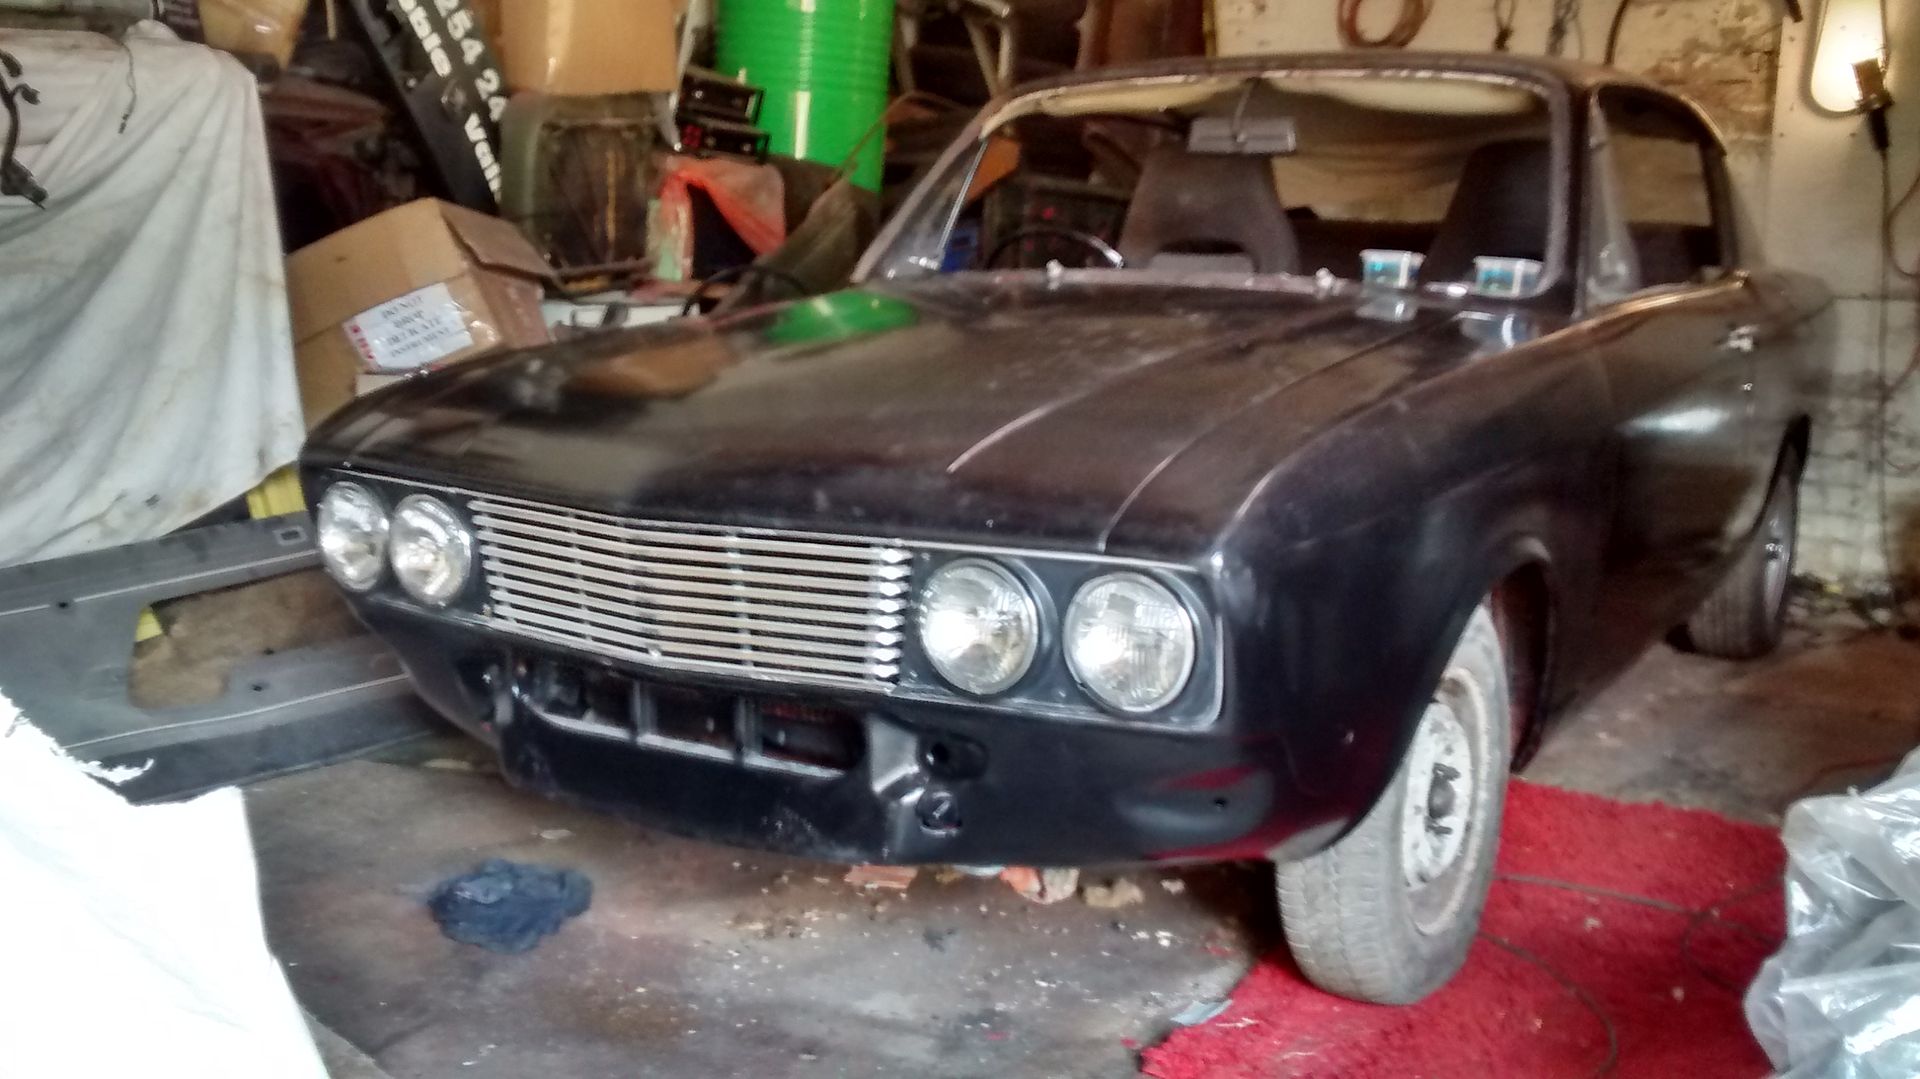
Brightwork back on the front and I've also sorted out the door window seals that Glen kindly sourced for us some time ago. Very fiddly and took longer than I expected, but they look the dogs 80ll0cks now they're on.
Mechanically the car is done for now and should be taking it for a ticket before the end of September. Just in time for the end of the summer Will be making its debut at the Goth's and Rodder's show in a couple of months. Should fit in nicely with all the hearses and creepy stuff that tends to turn up at this event.
Building the 'Mark II' fastback Rapier ('Arrocuda'). |
Edited by - arrocuda on 31 Aug 2016 14:38:32 |
|
|
|
arrocuda
United Kingdom
501 Posts |
Posted - 30 Dec 2016 : 14:30:43
|
Having decided to stay with the original lump I made a start on upgrading the block with the goodies some of which I've had for a while, some I've recently bought in.
Phase one is to install the E128 camshaft and weld the reluctor wheel to the crank pulley whilst it's all dismantled along wih a bracket to mount the crank position sensor on the timing chain cover. Replace the dizzy with a 'Hall effect' equivalent and install an ignition amplifier.
Phase two is all about fueling. I've got the four Gsxr throttle bodies and the alumimium plate to be taken to a pal of mine who has a laser cutting machine to cut the required holes. Then I need to bolt it to my H120 inlet manifold that in turn will be bolted to the cylinder head as normal. I've already got an electric fuel pump so that will need installing and maybe a swirl pot, not sure about that as I might get away with teeing the overflow back to the fuel line without returning the fuel to the tank. Either way there are no baffles in the fuel tank so will have to do one or the other.
I've got the Micro-squirt ecu and loom. Just need to install it along with a couple of sensors and it should be ready to go.
So plenty to be on with..... right now I've just installed the camshaft with the engine in situ. Removed the mounting bolts and raised it just enough to sneak the standard one out, (and the 'hot' one back in), through the aperture after removing the radiator and grille.

Now it's time to get the MIG out again, weld the trigger wheel to the pulley and make a bracket for the crank sensor.
Tim
Building the 'Mark II' fastback Rapier ('Arrocuda'). |
|
|
|
arrocuda
United Kingdom
501 Posts |
Posted - 09 Jan 2017 : 19:10:59
|
Been out of it since my last post with some kind of seasonal lurgy but feeling better yesterday, so I got back to it. E128 camshaft is installed and needed to finish the front end of the engine off by installing the reluctor wheel and a bracket on the timing chaie n cover to mount the crankshaft sensor.
So welded some lugs on to the inside of the ring so as to make it a closer fit to the pulley by building weld up in 4 places so as to quaterise the wheel. Then carefully ground them off with the disc so as to make the gap uniform all round the wheel. Once I was happy with the spacing I welded the lugs to the pulley.

A little black paint to cover the welds and then got on with making the sensor bracket. The toughest part was the positioning of the assembled bracket and sensor such that the bracket was welded to the cover in precisely the right location so as the sensor face would be set dead on the TDC position exactly the right distance (2mm) from the surface of the wheel. Ended up bending a piece of 2mm sheet around the trigger wheel and using the magnet inside the sensor to stand it up against the timing chain cover with the bracket attached and carefully marking the 'footprint'of it on the timing chain cover and welded it in position

A touch of red oxide primer but no 'recon engine' blue to finish it off with, but here it is with the sensor fitted.

Next move is to attempt to run it as it is with the strommies. Will need to enrich the mixture I'm thinking but be interesting to see how it responds. Just ordered the ignition module that will allow me to connect the solid state dizzy to the ecu. The system will also run stand alone without the ecu by using the vacuum advance mechanism so is no reason as to why I can't run it at least until I have to replace the inlet manifold.
Building the 'Mark II' fastback Rapier ('Arrocuda'). |
Edited by - arrocuda on 09 Jan 2017 19:11:24 |
|
|
|
arrocuda
United Kingdom
501 Posts |
Posted - 27 Jan 2017 : 15:10:14
|
Started the engine up just so as I could be sure that the camshaft replacement was all good before I move on to the ignition. Plan is to run the engine on carbs after every job is completed so if it refuses to run or runs poorly on the throttle bodies I know it is nothing to do with the previous mods.
The engine is certainly drawing a lot more air in and I might have to put a more powerful battery in as it certainly wasn't turning it over quite as lively as it was before the camshaft was swapped out. I primed the carbs with the pump trigger but not sure it's working very well as I had to turn it over for maybe 15 seconds before it burst into life. Runs reasonably well on the strombergs but had to do a fair amount of mixture adjustment to prevent it from stalling at low revs.
After getting the colortune out I had it running very well above 2000 revs but as the revs drop it does get lumpier so a faster idle is needed to keep it running, but I'm hopeful that the EFI system will resolve this problem. Sounds really good though. Enormous 'whoosh' sound as it draws the air through the pancake filters. So far so good.
Next move is to fit the ignition module and the solid state dizzy!
Building the 'Mark II' fastback Rapier ('Arrocuda'). |
|
|
|
Topic |
|